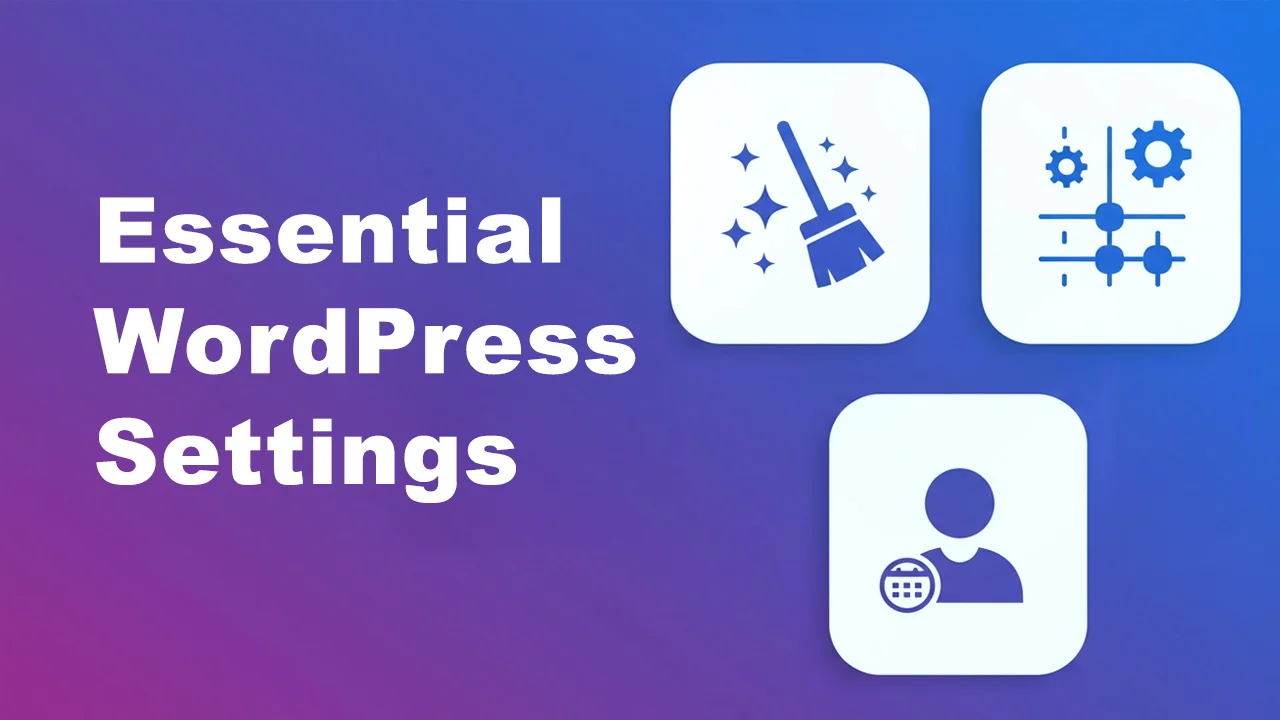
10 Essential WordPress Settings You Must Configure for a Smooth Start
So, you’ve just installed WordPress, now you’re probably excited to start writing your first blog posts, customizing themes, and sharing your website with the world. But before you do that, there are some important settings you must take care of.
Think of it like setting up your phone — choosing the right language, setting the time, installing apps. WordPress works the same way. So don’t post your first post without applying these essential WordPress settings.
Let’s get started!
1. Change Site Title, Tagline & Timezone
Right after you install WordPress, your site will have a default title and tagline like “Just another WordPress site.” You’ll want to change that immediately.
How to do it:
- Go to your WordPress Dashboard
- Click on Settings > General
Here you can:
- Set your Site Title (this is your blog or brand name)
- Update your Tagline (short description of your site)
- Choose your Timezone so that your posts publish at the correct time
Tip: If you’re targeting a local audience, select your local timezone. It helps with scheduled posts and analytics tracking.
2. Set a User-Friendly Permalink Structure
Permalinks are the URLs of your blog posts. WordPress sets them to something messy by default, like yourdomain.com/?p=123. Not good for SEO or users.
Recommended Setting:
- Go to Settings > Permalinks
- Select Post name (e.g.
yourdomain.com/sample-post/)
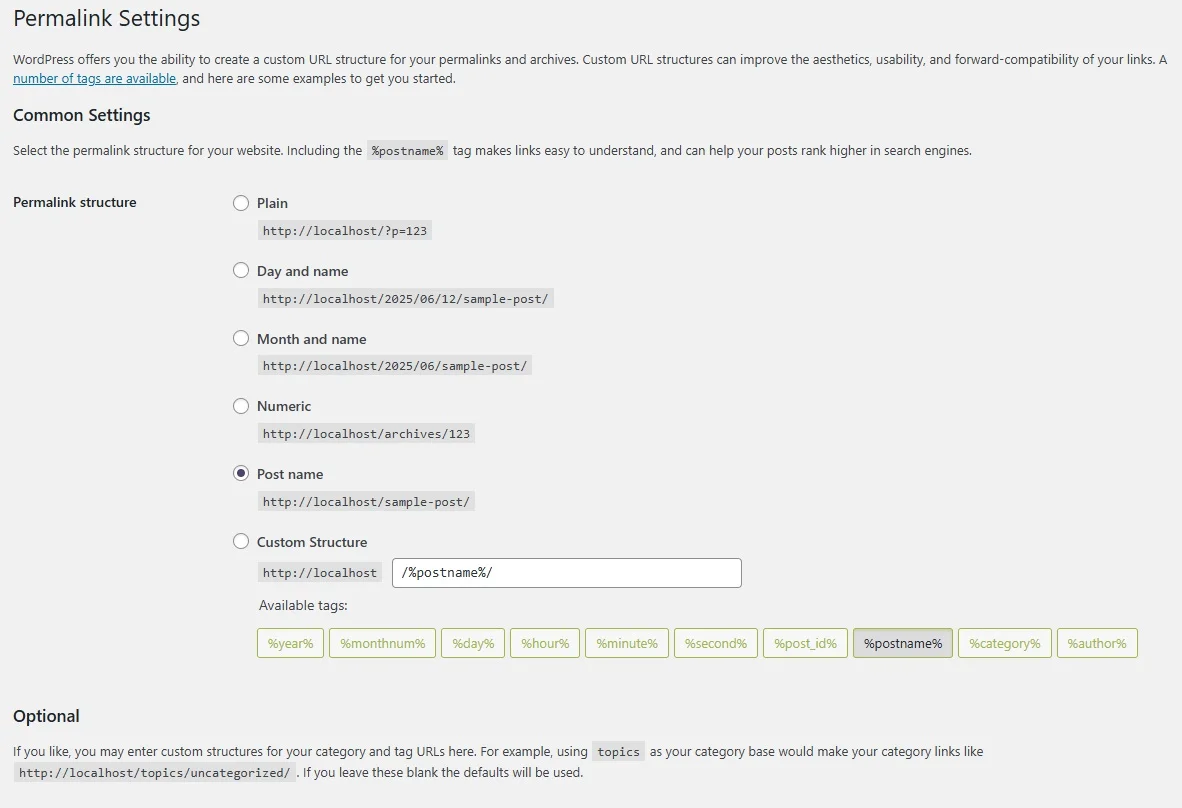
This makes your URLs clean, readable, and keyword-friendly.
3. Enable or Disable User Registration in WordPress
By default, WordPress doesn’t let users to register for your site. But do you really want that?
If you’re building a blog or business site, you probably don’t need random users signing up. On the other hand, if you’re creating a membership site or community, you might want to allow registrations.
How to control this:
- Go to Settings > General
- Find Membership and check or uncheck “Anyone can register”
You might want users to register on your site — but probably not through the WordPress admin panel (/wp-admin), right? Alternatively you can create a sign-up and login page/pop-up for them using page builder and form plugins.
4. Set Your Homepage and Blog Page
When someone visits your site, do you want them to see your latest posts or a custom homepage?
If you’re creating a blog, showing the latest posts is fine. But if it’s a portfolio or business site, you may want a static homepage instead. You can easily configure this from your WordPress settings and choose whether to display your latest posts or a static page as your homepage. This small tweak helps set the right first impression for your visitors.
To set this:
- Go to Settings > Reading
- Choose between:
- Your latest posts (for a blog layout)
- A static page (if you created a homepage and blog page)
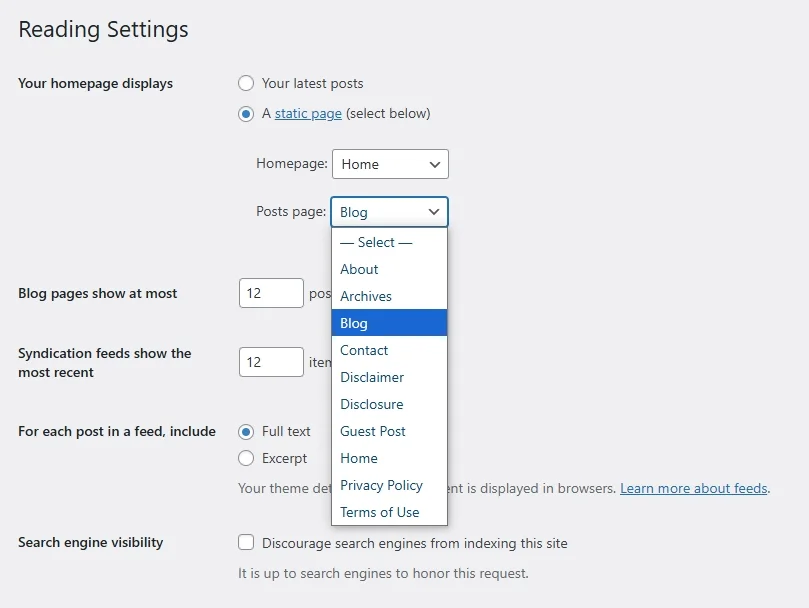
Just make sure you publish both pages first before selecting them here. You can use Block Editor or Elementor Page Builder to build your homepage.
5. Tweak Discussion Settings (Control Comments)
By default, WordPress allows people to comment on your posts. This can be great — but it can also attract spam or unwanted messages if not managed properly.
To adjust this:
- Go to Settings > Discussion
I recommend:
- Unchecking “Allow people to submit comments on new posts” if you don’t want comments
- Enabling comment moderation to review comments before they go live
- Turning on comment notifications so you know when someone leaves a message
Pro Tip: Install a plugin like Antispam Bee or Akismet to block spammy comments automatically.
6. Configure Media Settings
WordPress automatically creates multiple versions of every image you upload — small, medium, and large. If you don’t plan to use all these sizes, it can fill up your hosting space quickly.
To manage this:
- Go to Settings > Media
- Set unnecessary sizes to “0” so WordPress doesn’t generate them
This helps you keep your site clean and optimized.
7. Rename “Uncategorized” Category
Every time you create a post, WordPress assigns it to the “Uncategorized” category if you forget to choose one. This doesn’t look professional.
Here’s how to fix it:
- Go to Posts > Categories
- Click Edit on “Uncategorized”
- Change the name and slug to something like “General” or “Tips”
You can also go to Settings > Writing and change the Default Post Category to something else.
8. Delete Sample Content
When you install WordPress, it creates some sample content like the “Hello World!” post, a “Sample Page,” and a comment.
You don’t need this.
To remove:
- Go to Posts > All Posts and delete “Hello World!”
- Go to Pages > All Pages and delete “Sample Page”
- Go to Comments and delete the default comment
A clean start is a good start.
9. Update Your Profile and Gravatar
Want people to know who’s behind the blog? It’s a good idea to update your author profile and photo.
Do this by:
- Going to Users > Profile
- Add your name, nickname, biography, and social media links
- To add a profile picture, you’ll need to create a free account at Gravatar.com using the same email as your WordPress login.
This image will show up next to your name whenever you post or comment.
10. Install Essential WordPress Plugins
Plugins add extra functionality to your site. But don’t go overboard — just install what you really need.
Must-have plugins to start with:
- Rank Math SEO – For SEO optimization
- UpdraftPlus – For backups
- Wordfence – For security
- WP Super Cache or LiteSpeed Cache – For speed optimization
- Antispam Bee – For spam protection
- WPForms – To add contact forms easily
- Classic Editor – If you’re not familiar with Block Editor
Install them by going to Plugins > Add New and searching for each one.
Final Thoughts
Setting up WordPress the right way from the beginning can save you a lot of time and trouble later. These small but important WordPress settings help make your blog more secure, faster, SEO-friendly, and easier to manage.
You don’t need any technical skills — just follow the steps above, and your WordPress blog will be ready for action.
If you’ve made it this far, congrats! You’ve done the essential cleanup most beginners skip.
Have any questions? Drop them in the comments below — I’m here to help!
FAQ about WordPress settings
What are the most important WordPress settings to configure after installation?
The key settings to configure include your site title and tagline, permalink structure, homepage display, discussion (comment) settings, timezone, and default category.
How do I make my WordPress site more SEO-friendly from the start?
Start by setting a clean permalink structure (Post name), installing an SEO plugin like Rank Math or Yoast, updating your site title and tagline, and deleting sample content.
How can I reset WordPress settings to default?
There’s no built-in “reset” button in WordPress, but you can use plugins like “WP Reset” to revert everything back to the default state. Be careful—it’ll delete content and customizations too.
How do I make my WordPress site private until it’s ready?
If you’re still working on your site and don’t want it to show up in Google or other search engines just yet, enable Discourage search engines from indexing this site in Reading Settings.
Are there advanced settings I should explore later in WordPress
Yes—after the basics, you can dig into settings like custom post types, user roles, REST API settings, and performance tuning via .htaccess or caching plugins for better speed and security.